First prints
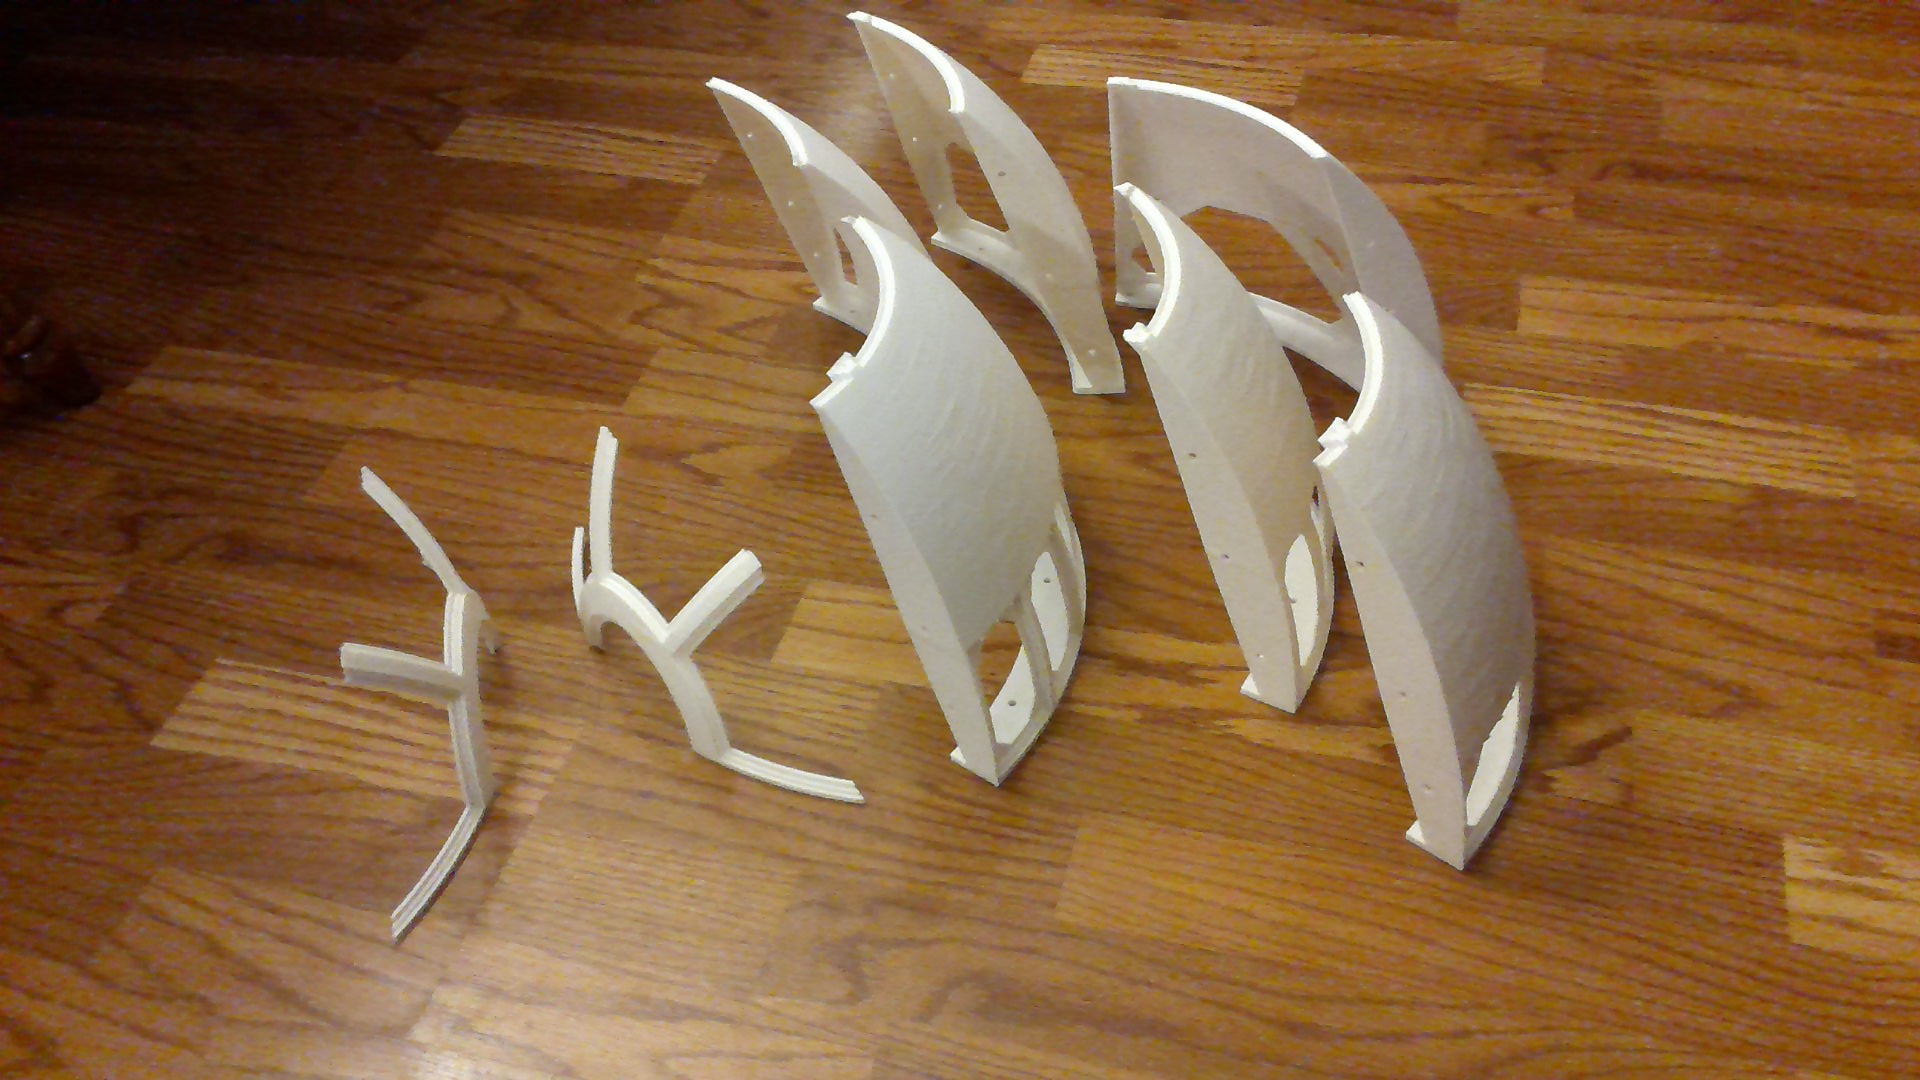
Thanks to Michael Baddeley and his .STL files of Artoo, I’ve started printing the dome. I will continue onto the rest of the droid after I’ve completed the dome. The main portion is made up of 8 parts.
The larger parts took about 10-12 hours to print. I used Hobbyking ABS which cost me $12.90 prior to shipping. Very cheap filament, but I was impressed with the results. I plan on buying more. Between these prints and a few non-related prints, I used about a spool and a half. I’m not quite sure if I would have gotten all the dome parts on one spool. I didn’t really keep track. At any rate, the other ABS I tried was the Prusa brand which I ordered when I got my printer. It was the white EasyABS, which was $29.99. I seemed to get more stringing with this filament. With the choice between the two, I’ll order more Hobbyking ABS to complete the project.
Moving on, I had to figure out how to acetone weld the pieces together and have it fit properly. I sanded each edge to give a good surface for the acetone. I was worried that if the angles on each edge were off just a little, the dome wouldn’t come out as a perfect circle and by the time I got to the last seam, it wouldn’t fit together correctly.
My solution was to put the dome pieces together with screws and nuts in the guide holes on the edge of each part. When I welded each seam together, I would remove the bolts, pull the pieces slightly apart, and then slather on the acetone. I lined each side up and held it for a few seconds until I could add the bolts back in.
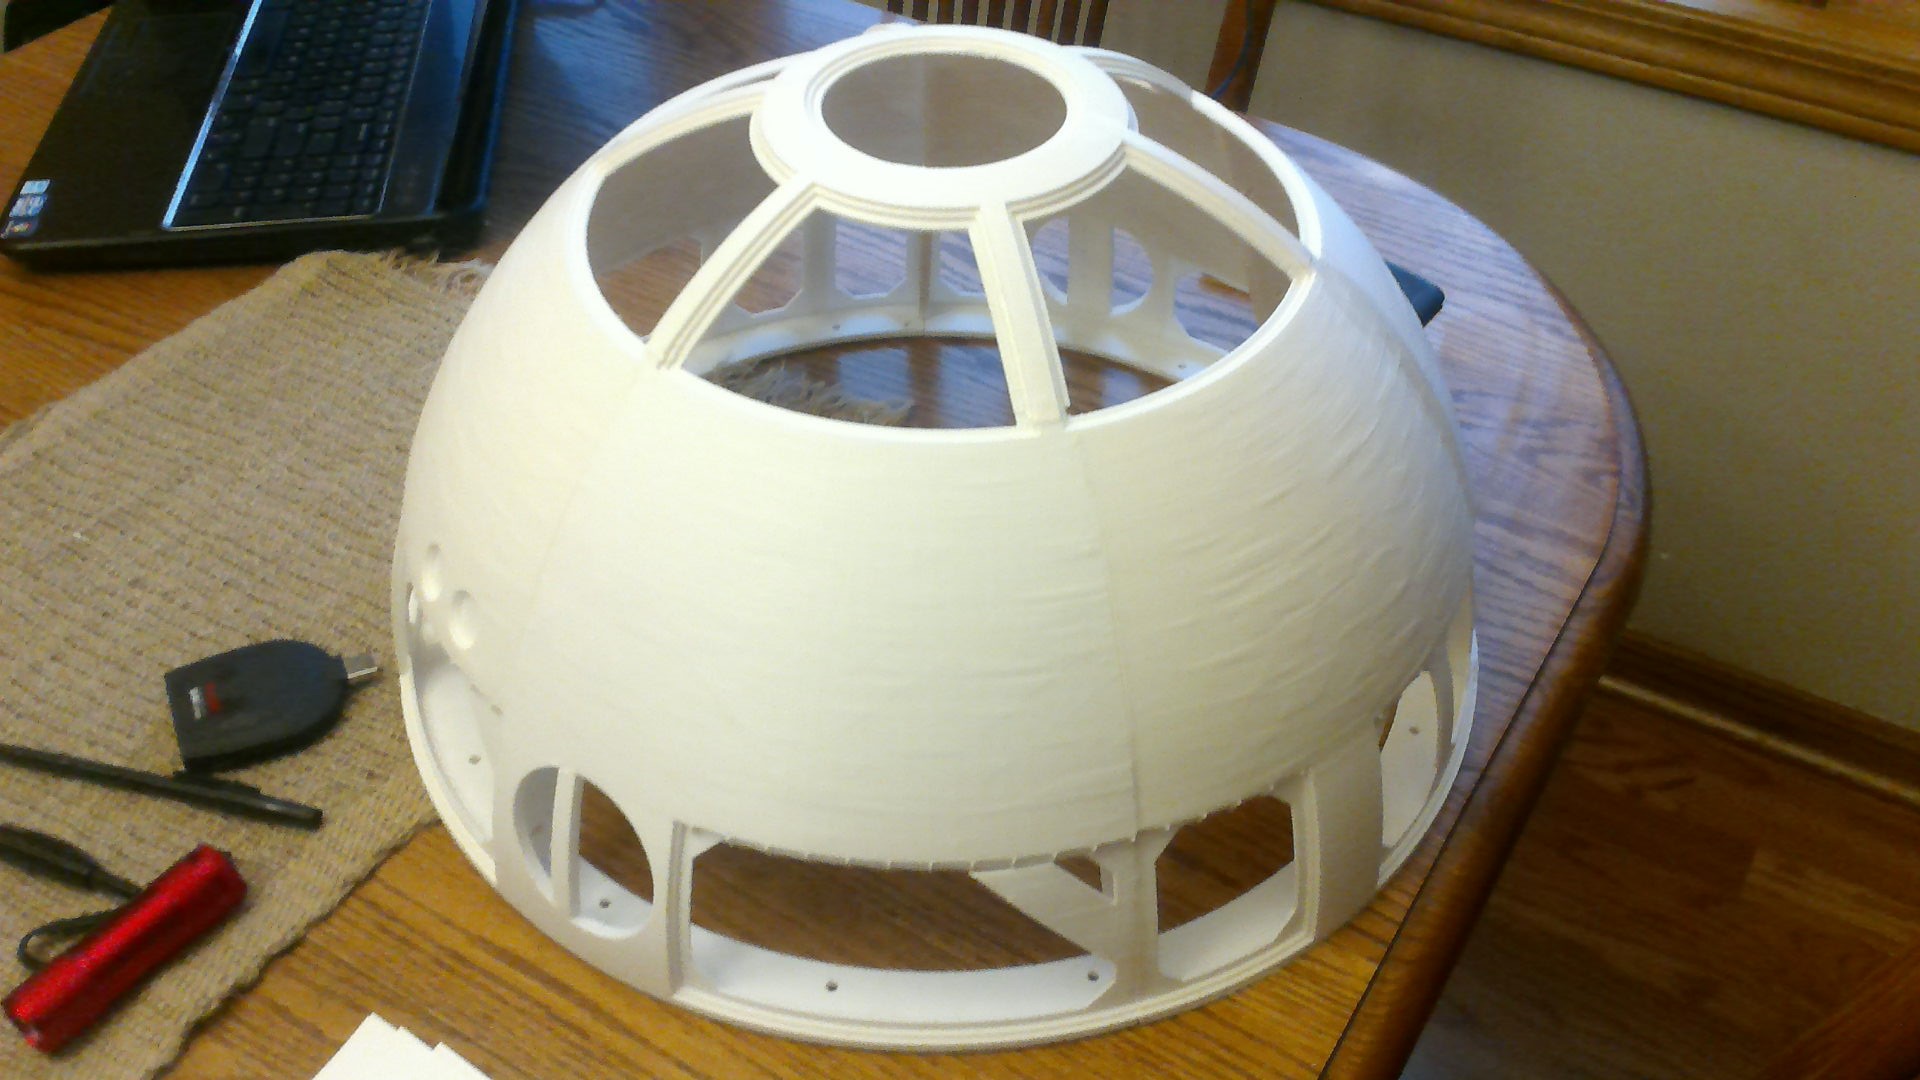
When I got the side pieces together, I put the top pie pieces together and attached it to the remained of the dome. In this design, there are 1.75mm guide holes where you can use a short piece of filament to line everything up correctly. It all seemed to come together correctly. I’ve very happy with where I’m at now. I’ll be doing some sanding and covering seams with Bondo in the next few weeks…